Outdoor Tap Leaks When Turned Off. What Do I Do?

In this article, we’ll cover why outdoor taps leak, how to fix them, and ways to prevent future issues.
Common Causes of Outdoor Faucet Leaks
Worn-Out Washer
The most common cause of a leaking outdoor tap is a worn-out washer. Washers act as seals that prevent water from flowing when the faucet is turned off. Over time, the washer can wear down due to constant pressure, leading to leaks.
Faulty Valve Seat
The valve seat connects the faucet to the spout. When the valve seat becomes corroded or damaged, it can lead to leaks around the faucet spout. Corrosion occurs naturally due to water mineral buildup, especially if your water is hard.
Loose Packing Nut
The packing nut, located under the faucet handle, can loosen over time due to regular usage. When the nut is not tight, water may escape even when the tap is turned off. Tightening the packing nut often can resolve the issue.
Cracked Faucet Body
If your faucet’s body cracks, typically due to freezing temperatures at night or excessive force, water can seep out. Cracks are more serious because they may require the entire faucet to be replaced rather than just fixing a component.


How to Identify an Outdoor Tap Leak
Visual Signs of a Leak
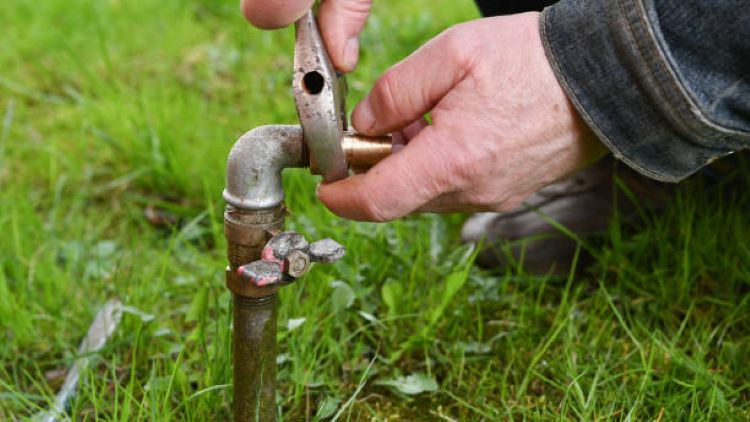
The first and most obvious sign of a faucet leak is seeing water dripping from the spout even after turning it off. You might also notice water pooling around the base of the faucet.
Checking Water Pressure
If you experience reduced water pressure when using other faucets in the house, the leak from the outdoor faucet might be part of a broader issue, such as pressure buildup caused by a malfunctioning faucet.
Listening for Drips
Sometimes, leaks aren’t immediately visible, especially if they’re small. Listening closely to the sound of dripping water can help you detect less obvious leaks.
Tools Needed for Fixing Outdoor Faucet Leaks
Before starting the repair, make sure you have the necessary tools to fix the leak properly.
Wrenches and Pliers
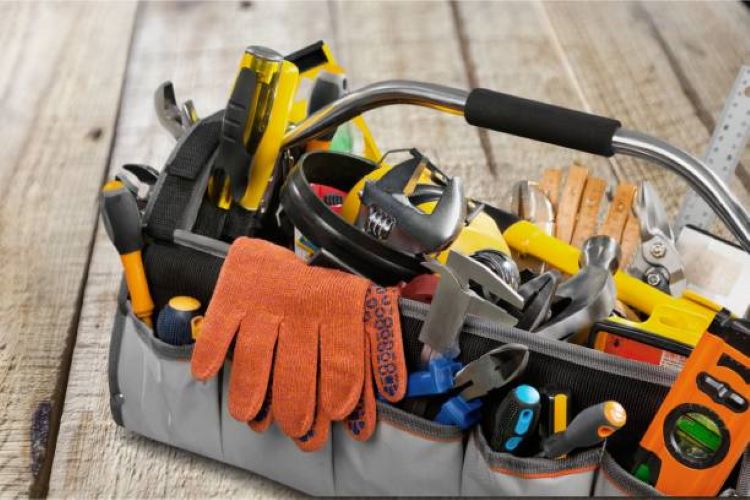
You’ll need adjustable wrenches or pliers to remove parts of the faucet for inspection and repair.
Replacement Parts
Depending on what’s causing the leak, you might need to replace washers, valve seats, or even the faucet itself.
Plumber’s Tape
The plumber’s tape is essential for sealing threads and ensuring there are no leaks once the faucet is reassembled.
Lubricant
Use a faucet lubricant to ensure that moving parts function smoothly and to prevent future wear and tear.


Step-by-Step Guide to Fix a Leaking Outdoor Tap
Step 1: Shutting Off the Water Supply
Before you begin, shut off the water supply to the outdoor faucet to avoid any further water waste or potential flooding.
Step 2: Dismantling the Faucet
Use a wrench to remove the faucet’s handle and access the internal components. Be sure to take apart the faucet carefully to avoid damaging any parts.
Step 3: Replacing the Washer or Other Damaged Parts
Inspect the washer and other components for wear or damage. Replace any faulty parts with new ones, ensuring that they fit correctly.
Step 4: Reassembling the Faucet
Once the damaged parts are replaced, carefully reassemble the faucet. Make sure everything is tightened properly to prevent leaks.
Step 5: Turning the Water Supply Back On and Testing
After the faucet is reassembled, turn the water supply back on and check for any signs of leaks. If the faucet no longer drips, the repair was successful.
When to Call a Professional Plumber
Major Pipe Damage
If the leak persists despite your repair attempts, it may be due to deeper issues such as pipe damage. In this case, calling a professional plumber is essential.
Leak Persists After Repair Attempts
Sometimes, despite your best efforts, the faucet may continue to leak. This could indicate a more complex issue that requires professional attention.


Preventing Future Outdoor Faucet Leaks
Seasonal Maintenance
Regularly inspecting your outdoor taps, especially before winter, can help prevent leaks. Ensure that the taps are not exposed to freezing temperatures, which can cause cracks.
Insulating Your Outdoor Taps
Consider installing insulation around the taps during colder months to protect it from freezing. It could get cold in Blue Mountains!
You can also use faucet covers for added protection.
The Importance of Fixing Leaks Promptly
Water Waste
A leaking tap can waste a lot of water and increasing your water bill unnecessarily.
Potential for Water Damage
If the leak is not fixed, it can lead to water damage to your home’s foundation or other outdoor structures. Fixing the leak promptly prevents these costly repairs.
Fixing an outdoor tap leak when it’s turned off may seem like a minor task, but addressing the problem quickly can save you from unnecessary water bills and potential water damage. With a little know-how, the right tools, and some effort, most faucet leaks can be repaired without the need for professional assistance. However, if you encounter persistent issues, it’s always wise to consult a plumber, like Ironclad Plumbing Blue Mountains.
FAQs
Yes, with the proper tools and guidance, most outdoor tap leaks can be repaired by a homeowner. If the issue persists, please call a professional. We at Ironclad Plumbing service Blue Mountains, Penrith and Lithgow. 24/7 emergency response for the region.
A leaking tap can waste a significant amount of water over time, even if the drip seems small. On average, a faucet that drips once per second can waste around 20,000 litres of water per year. A steady leak could waste much more, depending on the severity.
For perspective, 20,000 litres is enough to fill 200 average-sized bathtubs. Fixing small leaks not only conserves water but also helps reduce water bills and the environmental impact of water wastage.
If you are based anywhere in Blue Mountains region, or Lithgow or Penrith, the team of Ironclad Plumbing can help! We are a local plumbing company based in Katoomba and we can offer you professional help with all things plumbing and property maintenance.
Call 0474 318 136
Or fill in the form below and we’ll call you back.
