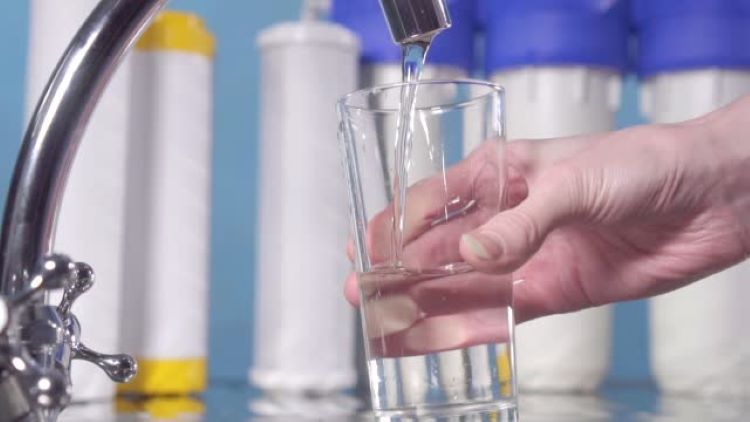
How to Install a Water Filter Under the Sink: DIY Guide
for professional plumbing services and water filter installation contact Ironclad Plumbing

When it comes to drinking water in your home, installing a home water filter is a great way to improve the quality and taste. We have created a DIY guide to walk you through the steps to install your own water filter under the sink. There are many water filter kits available on the market, and most of them consist of an outlet tap, a filter cartridge, a T-piece to run off your main water supply, and all the necessary pipes and fittings.
Tools You’ll Need:
- 12mm spanner
- Shifting spanner
- Drill
- 35mm hole saw (use a steel hole saw for steel surfaces and a diamond-tipped bit for granite or marble)
Step-by-Step Water Filter Installation
Step 1: Prepare Your Workspace
First, clear out the area under your sink. Remove any clutter or items to ensure a clean and spacious working environment. Keep some spare rags or towels handy, as water spillage is likely during the water filter installation.
Step 2: Drill the Hole for the Tap
The most challenging part of this DIY project is drilling the hole for the tap. If you have a granite surface, use a 35mm diamond-tipped bit. The bit should have a small cup that fills with water to keep it cool while drilling. The cup also has double-sided tape to prevent movement and guide the drill bit for a precise hole.
Fill the cup halfway with cold water, attach it to your drill, and start drilling at a slow to medium speed without applying too much pressure. Let the drill bit do the work. Check the temperature periodically; if it gets too hot, replace the water with cooler water.
Step 3: Install the Tap
Once the hole is drilled, insert the tap into it, ensuring it is positioned symmetrically and securely. From the underside, mount the bolt to hold the tap in place. Make sure to include the rubber washer to prevent water from seeping into your cupboard.
Step 4: Connect the T-Piece to the Water Supply
Turn off your main water supply or use the stopcock under the sink if available. Open the tap to relieve any pressure and excess water in the system. Install the T-piece on your existing mains line, which feeds your existing tap. Connect the flexible pipe from the T-piece to the new tap. Remember to use a washer for a secure fit.
Step 5: Connect the Pipes to the Filter Cartridge
Now, connect the pipes from the tap to the filter and back to the tap. The pipes are colour-coded and have direction arrows, making it easy to match them up correctly. Use a shifting spanner or pliers to hold the top section of the lug while tightening the nut. Ensure that the rubber washer is in place to prevent leaks.
Step 6: Mount the Filter Cartridge
Remove the caps from the filter cartridge connections and attach the colour-coded pipes. Depending on the type of water filter, the filter cartridge may last about 8,000 litres. To replace it, unplug the old cartridge and plug in a new one.
Step 7: Secure the Filter Base
The kit includes a base for the filter with a sticky pad on the underside. Attach it to a convenient location under the sink to keep the filter securely in place.
Step 8: Turn On the Water Supply
Turn the water supply back on. Open the new tap to let water flow through the filter system. Remember to flush the filter by allowing approximately 10 litres of water to run through it. This ensures that your filtered water is crystal clear and tastes great.


DIY Water Filter Installation vs Professional Water Filter Installation
Yes, you can install a water filter yourself, especially with a comprehensive DIY kit. Choosing between DIY water filter installation using a kit and hiring a professional plumber involves weighing cost, convenience, and expertise. DIY installation is cost-effective, offers flexibility, and provides a learning experience, but requires basic plumbing skills, tools, and time. Mistakes can lead to leaks or improper installation without professional guarantees. Professional plumber installation ensures expert, efficient work with quality assurance and time savings, though it incurs higher costs and requires scheduling. Ultimately, your decision should consider your budget, skill level, and preference for convenience or hands-on involvement.
DIY Installation
Advantages
- Cost Savings – Depending on your skills and the tools you have at home, you may save some money.
- Satisfaction – Completing a DIY project can be rewarding and satisfying.
- Convenience – You can install it at your own pace and convenience.
Requirements
- Basic Tools – Common tools like a spanner, shifting spanner, drill, and appropriate hole saw.
- Clear Instructions – Follow the step-by-step instructions provided in the kit carefully.
- Time – Ensure you have enough time to complete the installation without rushing.
Professional Installation
Advantages
- Expertise – A professional plumber has the expertise to handle any unexpected issues.
- Time-Saving – The installation will likely be quicker and more efficient.
- Guarantee – Many plumbers offer a guarantee on their work, providing peace of mind.
Considerations
- Cost – Hiring a professional plumber will increase the overall cost of the installation.
- Scheduling – You must schedule an appointment with a professional.
Conclusion
If you have basic DIY skills and the necessary tools, installing a water filter yourself is feasible and cost-effective. However, if you prefer to avoid dealing with plumbing or want the assurance of a professional job, hiring a plumber is a good choice.
Contact Ironclad Plumbing for professional water filter installation in Blue Mountains, Penrith and Lithgow.
Call 0474 318 136
Or fill in the form below and we’ll call you back.
